How to Compress an Image to an Exact File Size, And Why It's Harder Than You Think
Summary
Need a photo under 200 KB or 1 MB? Learn the binary search method for hitting exact file size targets every time. Free browser tool included.
There is a specific kind of frustration reserved for tasks that should be simple but aren't: compress this photo to under 200 KB. You compress, overshoot by five kilobytes. Lower the quality, undershoot by twenty. Raise it slightly, overshoot again. You repeat this loop until either the file lands in range or you give up and submit something too large and get an error from the government portal.
The problem is that JPEG and WebP compression ratios are non-linear and content-dependent. A photo of a clear blue sky at quality 80 might be 40 KB. The same quality setting on dense forest foliage might produce 400 KB. The encoder is measuring image complexity, the amount of high-frequency detail, not respecting a size target. This is by design: the quality slider controls visual fidelity, not bytes. Understanding that distinction is the first step to hitting size targets reliably.
Why Quality Settings Don't Map to File Size
JPEG compression works by dividing the image into 8×8 pixel blocks and applying a frequency transform. The quality setting controls how aggressively the high-frequency components (fine detail, sharp edges) are discarded. An image with lots of high-frequency content, a photo of animal fur, a busy pattern, a dense cityscape, retains more data at any given quality setting than an image dominated by smooth gradients.
This means the same quality setting produces wildly different file sizes depending on the image. Quality 75 for a portrait with a blurred background might be 120 KB. Quality 75 for a photo of a textured brick wall might be 600 KB. There is no formula that reliably predicts output size from quality alone without actually running the compression.
The Correct Approach: Binary Search Over Quality
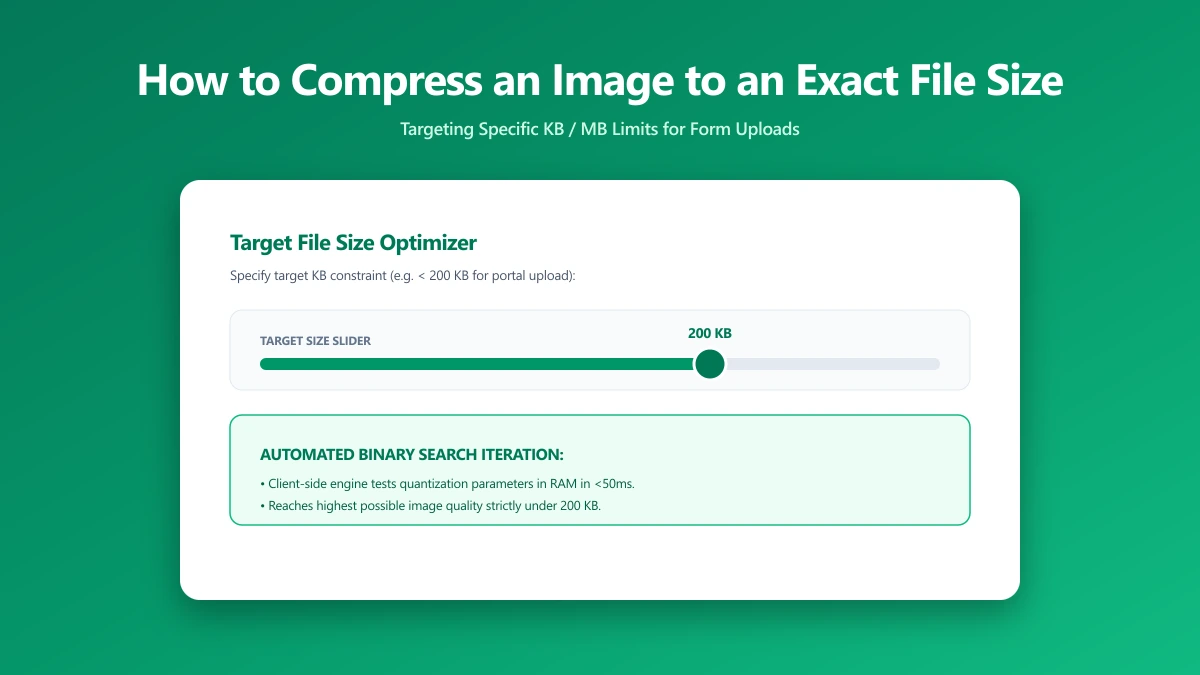
The reliable method for hitting a size target is a binary search over quality values. You set a target, measure the output at quality 80, then step up or down based on whether you over- or undershot, repeating until you're within tolerance. Binary search converges in at most 7 iterations (log₂ 100 ≈ 6.6), far faster than manual trial-and-error.
async function compressToTargetSize(
  file: File,
  targetBytes: number,
  toleranceBytes = 5000,
  format: 'image/jpeg' | 'image/webp' = 'image/jpeg',
): Promise<Blob> {
  let lo = 1, hi = 100, bestBlob: Blob | null = null;
  const canvas = document.createElement('canvas');
  const bitmap = await createImageBitmap(file);
  canvas.width = bitmap.width;
  canvas.height = bitmap.height;
  canvas.getContext('2d')!.drawImage(bitmap, 0, 0);

  while (lo <= hi) {
    const quality = Math.round((lo + hi) / 2);
    const blob = await new Promise<Blob>((res) =>
      canvas.toBlob((b) => res(b!), format, quality / 100),
    );

    if (blob.size <= targetBytes) {
      bestBlob = blob;
      lo = quality + 1; // within budget, try higher quality
    } else {
      hi = quality - 1; // over budget, reduce quality
    }

    if (Math.abs(blob.size - targetBytes) <= toleranceBytes) break;
  }

  // fallback: return the highest quality that fit
  return bestBlob ?? new Promise<Blob>((res) =>
    canvas.toBlob((b) => res(b!), format, lo / 100),
  );
}Binary search converges in at most 7 iterations regardless of the quality range. Manual increments of 5 at a time can take 15–20 attempts and often jump over the optimal value. Binary search finds it in under 10.
Dimension Reduction: The More Powerful Lever
Quality binary search has a floor: if quality 1 still produces a file above your target, the image is too large in pixels and no amount of compression can fix it without severe degradation. Pixel dimensions are the more powerful lever, halving width and height reduces file size by roughly 75% at the same quality.
- ●Calculate approximate scale factor:
scale = sqrt(targetBytes / currentBytes) - ●Apply scale to dimensions:
newWidth = floor(currentWidth × scale) - ●Then run the quality binary search on the downscaled image
- ●Use image resize to reduce dimensions before compressing when your target is very small
The two-lever approach, resize first, then compress, handles almost any size target. Use the dimension estimator as a starting point, then run binary search on quality to fine-tune within ±5 KB of your target.
Format Matters More Than Quality for Size Targets
Switching from JPEG to WebP at the same quality produces a 25–35% smaller file with no visual difference. If you're struggling to hit a size target with JPEG, try WebP first before reducing quality further. This is especially useful for passport and visa photos where visual quality matters but file size is tightly constrained.
| Approach | Quality | Format | Output size | Visual quality |
|---|---|---|---|---|
| Reduce quality only | 55 | JPEG | 198 KB | Visible blocking in background |
| Switch to WebP, then compress | 72 | WebP | 197 KB | Clean, nearly identical to original |
| Resize to 1200px wide first | 80 | JPEG | 180 KB | Sharp, no artifacts |
| Resize + WebP | 80 | WebP | 130 KB | Best quality at this file size |
Common Exact-Size Requirements by Platform
| Use case | Size limit | Min size | Recommended approach |
|---|---|---|---|
| UK passport photo | 10 MB | 50 KB | JPEG Q85 at 600×600px, well within both limits |
| US visa / DS-160 | 240 KB | 1 KB | JPEG or WebP Q70–80 at 600×600px |
| India passport / OCI | 1 MB | 10 KB | JPEG Q85 at 1200×1200px |
| India Aadhaar docs | 200 KB | - | JPEG Q70 at 1200×1200px; try WebP if still over |
| WordPress default limit | 8 MB | - | JPEG Q80 at 2000px wide, well within limit |
| Webflow asset limit | 25 MB | - | WebP Q80, virtually any image fits |
| Shopify product image | 20 MB | - | JPEG Q85 at 2048×2048px is the sweet spot |
The Manual Approach: Using a Quality Slider Effectively
If you're not running code but need to hit a size target manually, a live size estimate on the quality slider is the fastest path. The correct workflow:
- 1.Open the image compressor and upload your file
- 2.Start at quality 80 and check the estimated output size shown below the slider
- 3.If over target, drag left (lower quality); if under, drag right (higher quality)
- 4.Use WebP output if you need more room, same quality setting, ~30% smaller file
- 5.Save when the estimated size is at or just under your target
The live size estimate is calculated by compressing a thumbnail of your image and extrapolating to full resolution. It's accurate to within 5–10% for most images. For exact verification, compress and check the output file size before submitting to a government portal.
Troubleshooting: Still Over the Limit After Compression
- ●Still over at quality 1 JPEG: The image is too large in pixels. Use resize to reduce dimensions first.
- ●Live estimate says under but saved file is over: Some metadata (EXIF, color profiles) adds bytes. Strip metadata and recheck.
- ●Converting PNG to JPEG is unexpectedly large: The PNG might have transparency. A PNG with an alpha channel converted to JPEG gets a white background, check if the original image has transparent areas.
- ●Platform rejects despite correct size: Some portals check pixel dimensions, not just file size. Read the full requirements for minimum and maximum pixel dimensions.
Bottom Line
Hitting an exact file size requires two tools: dimension control and quality control. The quality slider alone cannot reliably hit a tight target because compression ratios depend on image content, not just the quality number. Resize to the right pixel dimensions first, then use binary search on quality (or a live-estimating slider) to fine-tune. Switching to WebP buys you an extra 25–35% headroom before you need to reduce quality further. The whole process takes under a minute once you know the levers.
Frequently asked questions
How do I compress an image to exactly 200 KB?
Why does the same quality setting give different file sizes on different images?
How small can I compress an image without visible quality loss?
What is the file size limit for passport photos?
Does WebP produce smaller files than JPEG at the same quality?
Sources & references
This article was researched and written by Nikola, drawing on the following primary sources and documentation:
Ready to try it?
All tools run entirely in your browser, no uploads, no account required.
Compress Image