How to Compress a Photo to 50KB for an Exam Form
Summary
Exam portals want a photo under 50KB at a fixed pixel size, and reject it for reasons they never explain. Here is how to satisfy both rules at once.
Application portals for exams, universities and government recruitment nearly all want the same thing: a recent photograph, between about 20KB and 50KB, at a pixel size they specify to the digit.
Then they reject it. Not with a reason, just a red box. The photo you took on a modern phone is 4MB and 4000 pixels wide, and every one of those properties is wrong for the form.
Here is how to hit a 50KB target and the dimension rule at the same time, because satisfying one while breaking the other is why most of these uploads fail.
Read the Requirement Properly First
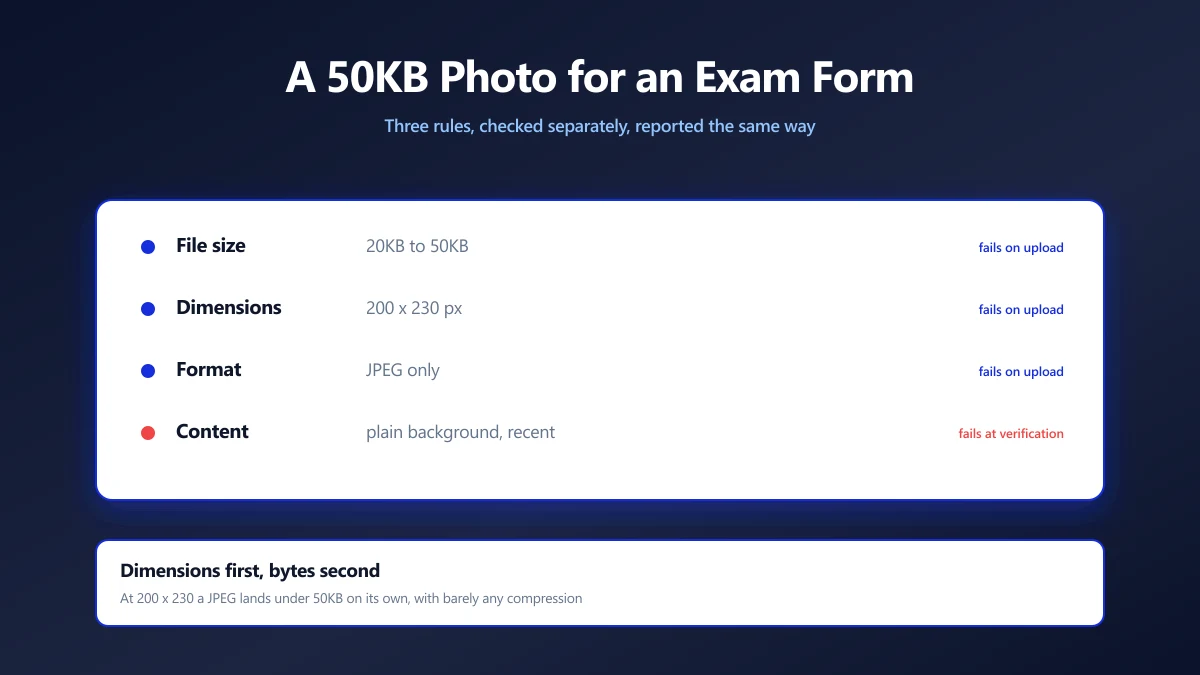
These forms usually impose three separate constraints, and people optimise for the one they noticed.
| Constraint | Typical value | What happens if you miss it |
|---|---|---|
| File size | 20KB to 50KB | Rejected on upload |
| Pixel dimensions | 200 x 230, or similar exact numbers | Rejected, often silently |
| Format | JPEG only | Rejected, sometimes without a message |
| Content rules | Plain background, face centred, recent | Accepted now, rejected at verification |
The content rules are the ones that cost people an exam rather than an afternoon. A photo that uploads fine can still be rejected weeks later at document verification, and by then the correction window may have closed.
Dimensions Before Bytes, Always
This is the whole technique, and it is worth understanding why rather than just following it.
File size follows from pixel count. If the form wants 200 x 230 pixels, that is 46,000 pixels in total, and a JPEG of 46,000 pixels at a sane quality setting naturally lands in the 15KB to 40KB range. You barely have to compress at all.
Try it the other way round, squeezing a 4000 pixel wide photo down to 50KB, and you are asking the encoder to describe 12 million pixels in 50KB. It will do it, and the result will look like a photograph of a photograph taken through frosted glass.
The Sequence That Works
- 1.Crop to the right shape first. If the form wants 200 x 230, that is a portrait ratio close to 1:1.15. Crop to that shape with the crop tool so the resize does not squash the face.
- 2.Resize to the exact pixel numbers. Use the resize tool and type the dimensions the form asked for.
- 3.Compress only if needed. Open the 50KB compressor and check the size. At those dimensions you may already be under 50KB.
- 4.Confirm the format. Save as JPEG unless the form says otherwise. A PNG renamed to .jpg is still a PNG and some portals detect that.
If the result comes out under the minimum size, which some forms also enforce, raise the quality rather than the dimensions. Quality 90 at the right pixel size will lift you back over a 20KB floor without breaking the dimension rule.
Getting the Photograph Right Before Any of This
Compression cannot fix a photograph that breaks the content rules, and these are the rules that get people rejected at verification.
- ●Plain, light background. A wall works. A doorway, a curtain pattern or another person in shot does not.
- ●Face straight on, filling most of the frame. Most forms want the head and the top of the shoulders, not a full length shot cropped down.
- ●Even lighting, no flash glare. Face a window rather than standing with your back to one.
- ●Neutral expression, eyes open, no sunglasses. A clear head covering for religious reasons is normally fine, but the face must be visible.
- ●Recent. Many forms specify within the last three or six months, and verification compares it to you.
A plain background also compresses better, which is a small bonus: fewer distinct details means fewer bytes, so a good photo hits the size target more easily than a busy one.
The Signature Is a Separate Problem
Most of these forms ask for a signature image as well, usually under 20KB and at its own dimensions, and it fails for a different reason: it is scanned at high resolution on a full sheet of paper.
Crop tight to the strokes, raise the contrast so the ink is properly dark against white, then resize. We went through that in detail in compressing an image to 20KB.
Why Not to Upload These Anywhere
Consider what this bundle actually is: a current photograph of your face, your signature, and often a scan of an identity document, prepared together in one sitting.
That is a complete identity kit. Handing it to a free tool with no stated retention policy, in exchange for resizing a photo, is a poor trade even if nothing goes wrong.
A browser based tool does the work on your own machine and uploads nothing, which removes the question entirely. There is no copy anywhere else to worry about.
Two Rules, One Order
Crop to the shape, resize to the exact pixels, then check the bytes. In that order the file size usually sorts itself out, and you satisfy the dimension rule that silently fails most uploads.
Read the content rules before you take the photograph, because those are the ones that cost more than an afternoon. Start with the resize tool and type in the numbers your form gave you.
Frequently asked questions
How do I compress a photo to 50KB for an exam form?
Why does the portal reject my photo even though it is under the size limit?
My photo is now under the minimum size. What do I do?
Can I just rename a PNG to .jpg?
Does the background colour matter?
Why is my signature image failing when the photo passed?
Is it safe to use an online tool for these files?
Sources & references
This article was researched and written by Nikola, drawing on the following primary sources and documentation:
Ready to try it?
All tools run entirely in your browser, no uploads, no account required.
Compress Image