Why Online Forms Reject Your Photo (Six Checks, One Error Message)
Summary
Upload portals run several independent checks and report them all the same way. Here is each one, how to test it yourself, and the order to fix them in.
You upload the photo. Red box. No explanation, or one so generic it could mean anything: invalid file.
So you compress it smaller and try again. Red box. You convert it to a different format. Red box. Somewhere around the fifth attempt it works, and you never find out which change fixed it.
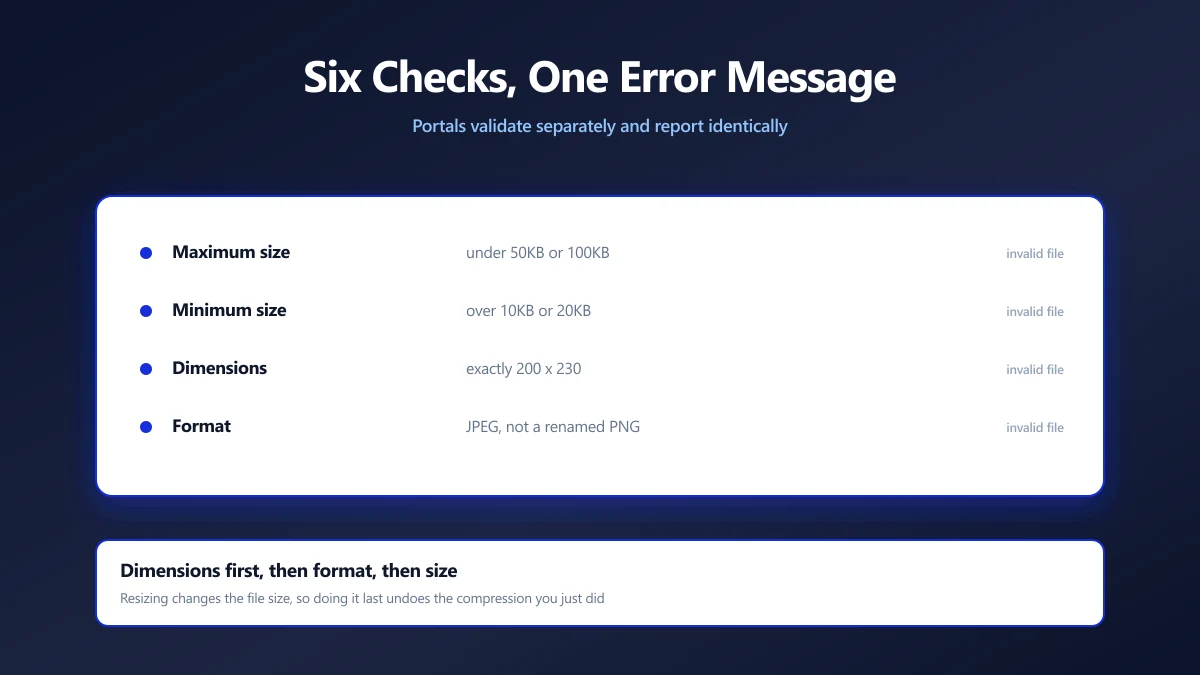
Upload validators typically run six independent checks and report every failure identically. Here is each one, in the order worth testing them.
The Six Checks
| Check | Typical rule | How to test it |
|---|---|---|
| Maximum file size | Under 50KB, 100KB or 200KB | Right click the file and read its size |
| Minimum file size | Over 10KB or 20KB | The same, and it is easy to go under it |
| Pixel dimensions | Exactly 200 x 230, or a range | Open it and read the dimensions |
| File format | JPEG only, sometimes JPEG or PNG | Check the real format, not the extension |
| Colour mode | RGB, not CMYK or greyscale | Re-save from any normal editor to fix |
| Filename | No spaces, accents or symbols | Rename to letters, digits and hyphens |
A minimum file size is the one nobody expects. Compress a photo down to 12KB to be safely under a 50KB cap and you can land under a 20KB floor, which fails with the same message as being too large.
Test Them in This Order
Each check is cheap to verify, and the order matters because fixing one can break another.
- 1.Dimensions first. If the form names exact pixels, satisfy those before anything else, because resizing changes the file size and would undo any compression work. Use the resize tool.
- 2.Format second. Re-save as JPEG if that is what is wanted. This also normalises the colour mode as a side effect.
- 3.File size third. Now compress, and aim between any stated minimum and maximum rather than as small as possible.
- 4.Filename last. Rename to something plain such as photo.jpg. It costs nothing and removes a whole class of failure.
The Extension Is Not the Format
This one catches people who did everything else right.
Renaming photo.png to photo.jpg changes the name and nothing else. The file still begins with the bytes that identify a PNG, and any validator worth the name reads those bytes rather than trusting the label.
A screenshot is the usual source of this. Screenshots are PNGs on most systems, so a screenshot of a photo, renamed, fails a JPEG-only check. Convert it properly with a real converter or by re-saving as JPEG.
Colour Mode, the Invisible One
An image can be stored as RGB for screens or CMYK for print, and some validators accept only RGB. A CMYK JPEG looks identical in most viewers, so nothing about the file appears wrong.
This usually appears when a photo has passed through print oriented software, or came from a designer. Opening it in any ordinary editor and saving it again converts it to RGB, which is why the mysterious fix is often simply re-saving the file.
When It Still Fails
- ●Try a different browser. Some older upload widgets fail in ways unrelated to your file.
- ●Check whether the site wants the photo and the signature in one go. Some forms validate both and report only one error.
- ●Look for a separate, stricter rule for one field. A 200KB overall limit can sit alongside a 50KB limit on the photograph.
- ●Reduce the image to its simplest form. A plain JPEG, RGB, no metadata, plain filename, correct dimensions, is the version most likely to pass.
Stripping metadata is worth doing anyway, and not only for compatibility. A photo straight from a phone carries the location it was taken, which is not something to attach to an application form. The metadata remover clears it, and we covered what is in there in what image metadata contains.
Do It Without Uploading Anywhere
The irony of fixing an upload problem by uploading the file to a third party is worth noticing, particularly when the file is a photograph of your face attached to an identity document application.
Resizing, converting and compressing all happen in the browser here, so the only place the photo goes is the form you were trying to fill in.
One Error Message, Six Causes
Portals almost never tell you which check failed, so the fix is to satisfy all of them deliberately rather than to guess. Dimensions, then format, then size between the minimum and the maximum, then a plain filename.
Read the full requirement before you start, including the parts in brackets. Start with the dimensions, since everything else depends on them.
Frequently asked questions
Why does the form reject my photo without saying why?
My photo is under the limit but still fails. What else could it be?
Can I just rename a PNG to .jpg?
What is a colour mode error?
In what order should I fix these?
Does the filename really matter?
Sources & references
This article was researched and written by Nikola, drawing on the following primary sources and documentation:
Ready to try it?
All tools run entirely in your browser, no uploads, no account required.
Resize Image