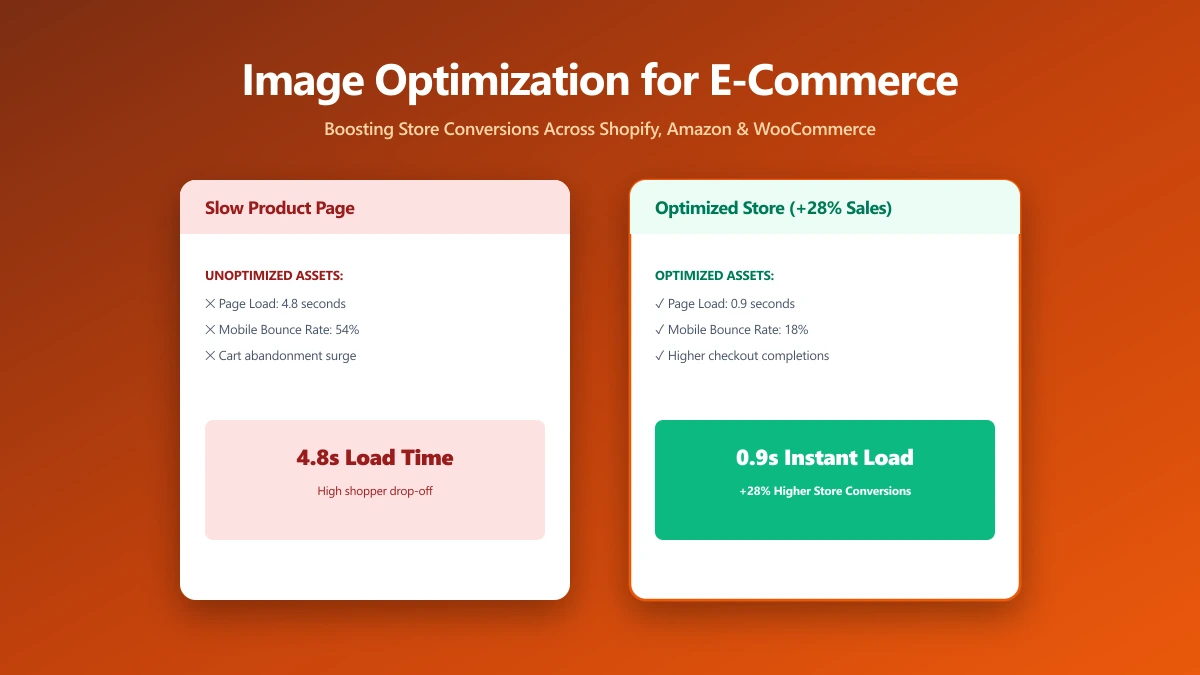
Image Optimization for E-Commerce: The Multi-Platform Reality
Summary
Product images on Shopify, WooCommerce, Amazon, and Etsy all have different requirements. Compress once, deploy everywhere without quality loss.
Your WooCommerce store has fifty product pages, each with six to eight full-resolution PNGs uploaded directly from Photoshop. The category grid loads in five seconds on mobile. Your conversion rate on mobile is half what it is on desktop. The images are not a decoration problem, they're a revenue problem.
Product images are the heaviest assets on most e-commerce pages and the ones with the most leverage: they're the reason customers convert, and unoptimised versions are the reason pages are slow. Every major e-commerce platform has different image requirements, different CDN handling, and different compression behaviour. Getting this right requires knowing what each platform does to your images after you upload them, not just what you upload.
Platform Requirements at a Glance
| Platform | File size limit | Recommended dimensions | Accepted formats | CDN auto-WebP |
|---|---|---|---|---|
| Shopify | 20 MB | 2048×2048px | JPEG, PNG, WebP, GIF | Yes, serves WebP automatically |
| WooCommerce | Server PHP limit (~8 MB default) | 2000×2000px | Any WordPress-supported | No, plugin required (Imagify, ShortPixel) |
| Amazon | 10 MB | 2000px+ on longest side | JPEG, TIFF, PNG, GIF | No, JPEG served as uploaded |
| Etsy | 10 MB | 2000px minimum | JPEG, PNG | No, serves as uploaded |
| eBay | 12 MB | 1600px recommended | JPEG preferred for featured | No |
| BigCommerce | 8 MB | 1280px minimum | JPEG, PNG, GIF | Yes, CDN image optimisation included |
The Source Image Workflow: One Master, Multiple Exports
The fundamental rule: maintain one high-resolution source file and generate platform-specific exports from it. Never let any platform be the only place your product images exist. If Shopify deletes your images (it happens during migration), or Amazon changes their requirements, you need your originals.
For white-background product photography: shoot in RAW, export a 3000×3000px TIFF or maximum-quality JPEG as your master, then generate platform-specific exports from that file. Shopify at 2048px, Amazon at 2000px, thumbnails at 800px. Never resize down from an already-uploaded platform version, platform CDNs apply their own compression on top of yours.
Shopify: What Happens to Your Images After Upload
Shopify's CDN automatically converts uploaded images to WebP for browsers that support it, which is nearly all of them in 2026. This means you upload JPEG and shoppers receive WebP, getting a smaller file with no extra work from you. Shopify also generates multiple responsive sizes at upload time.
The catch: Shopify still re-encodes what you upload. Uploading a low-quality, already-compressed JPEG means Shopify's encoder is starting from degraded source material and producing further degraded output. Upload JPEG at quality 85–90, not lower, let Shopify's encoder apply the final optimisation from a high-quality source. Don't compress for Shopify yourself; compress for quality, let Shopify compress for delivery.
WooCommerce: The Thumbnail Multiplication Problem
WordPress generates multiple image sizes at upload time: thumbnail (150×150), medium (300×300), medium-large (768px wide), large (1024px wide), and full resolution. Each stored as a separate file. If you upload a 5 MB JPEG, WordPress creates five or six files totalling 8–12 MB of disk space, for every product image.
For a store with 200 products and 6 images each, that's 1,200 source images producing up to 7,200 generated files. Optimising before upload is the only scalable approach: a 500 KB source image produces proportionally smaller generated thumbnails, and the disk savings compound across the entire catalog.
# WooCommerce: regenerate thumbnails after changing image size settings
# Run via WP-CLI on your server
wp media regenerate --all --yes

# Regenerate for specific post IDs (one post per product)
wp media regenerate 1234 1235 1236

# Check current registered image sizes
wp eval 'print_r(get_intermediate_image_sizes());'
Amazon: Strict Requirements, Zero Flexibility
Amazon's requirements for the main product image are non-negotiable: white or pure white background (RGB 255,255,255), JPEG format, product occupying 85%+ of the frame, minimum 1000px on the longest side (2000px+ strongly recommended for zoom). Violations result in image suppression or listing removal.
- ●Main image: JPEG only on white background; 2000×2000px minimum for zoom feature
- ●Additional images (swatch, lifestyle, infographic): JPEG or PNG; 1000px minimum
- ●File naming: ASIN + variant identifier (e.g. B09EXAMPLE.jpg)
- ●Do not include logos, watermarks, or text on main images, Amazon will suppress the listing
- ●Compression: JPEG quality 85 at 2000×2000px typically produces 300–700 KB, within Amazon's 10 MB limit easily
File Size Targets by Image Type
| Image type | Dimensions | Target size | Format | Notes |
|---|---|---|---|---|
| Main product image | 2048×2048px | 300–600 KB | JPEG Q80–85 | Square crop standard across platforms |
| Gallery / angle shots | 2000×2000px | 200–400 KB each | JPEG Q80 | Multiple images increase conversion rate |
| Lifestyle / in-use photo | 2000×1333px | 200–500 KB | JPEG Q80 | Non-white background; wider crop |
| Category thumbnail | 400×400px | 30–80 KB | WebP Q75 or JPEG Q70 | Loads on every category page |
| Hero / banner image | 1920×600px | 100–200 KB | WebP Q78 preferred | Above fold, most impactful for LCP |
| Infographic / text overlay | 2000×2000px | 200–400 KB | PNG or WebP lossless | Avoid JPEG for text, ringing artifacts |
WooCommerce WebP: What to Use
WooCommerce does not automatically convert images to WebP, it serves whatever format you upload. Options for adding WebP support:
- ●Plugin approach (easiest): Imagify, ShortPixel, or EWWW Image Optimizer, converts and serves WebP automatically, including regenerating thumbnails
- ●Manual approach: Convert your images to WebP before uploading. WordPress 5.8+ serves WebP natively if you upload WebP files.
- ●Server-side approach: Use an Nginx or Apache rule to serve .webp from a converted directory when the browser supports it, more complex but no plugin needed
The High-Impact, Low-Effort Wins
If you have a store with thousands of existing images and no time for a full audit, prioritise in this order:
- 1.Category and homepage images: These load on every page view. A 1 MB category banner loading 10 times per session is 10 MB of avoidable data. Compress to 150 KB.
- 2.Main product images on best-selling products: High traffic × slow load = the biggest revenue loss. These 20% of products probably get 80% of your traffic.
- 3.Hero and promotional banners: Above-fold images directly impact LCP. Target under 200 KB for any banner that appears above the fold.
- 4.Product thumbnails in the grid: Each product grid can have 20–50 thumbnail images. Even at 100 KB each, a full page of thumbnails is 2–5 MB. Target 30–50 KB per thumbnail.
Bottom Line
E-commerce image optimisation is a compounding investment. Every product page has images; every category grid has thumbnails; every homepage has a hero. Start by compressing your hero and category images to under 200 KB, these appear on every page and have the highest impact per image optimised. Then work through product images systematically. A store that loads in 2 seconds on mobile converts at roughly 2× the rate of one that takes 5 seconds. The images are often the difference.
Frequently asked questions
What image size should I use for Shopify product photos?
Does Shopify convert images to WebP automatically?
How do I add WebP support to WooCommerce?
What are Amazon's image requirements for the main product photo?
How much can image compression improve my store's conversion rate?
Sources & references
This article was researched and written by Nikola, drawing on the following primary sources and documentation:
Ready to try it?
All tools run entirely in your browser, no uploads, no account required.
Compress Image