How to Remove Alpha Transparency From PNG and Replace With Custom Background Color
Summary
Flatten a transparent PNG onto white, black or any brand color without dark edges. Steps for Photoshop, GIMP and ImageMagick, and why uploads sometimes turn transparency black.
To replace transparency with a color, you place the image on top of a solid layer in that color and merge the two. In Photoshop that is a Solid Color fill layer under your image, then Flatten Image. In GIMP, set the background color and use Remove Alpha Channel. On the command line, ImageMagick does it in one line with -background "#hex" -alpha remove.
What you should avoid is simply deleting the alpha channel or converting straight to JPEG in a tool that does not ask for a background color. That is how logos end up in black boxes.
Why transparent areas turn black instead of white
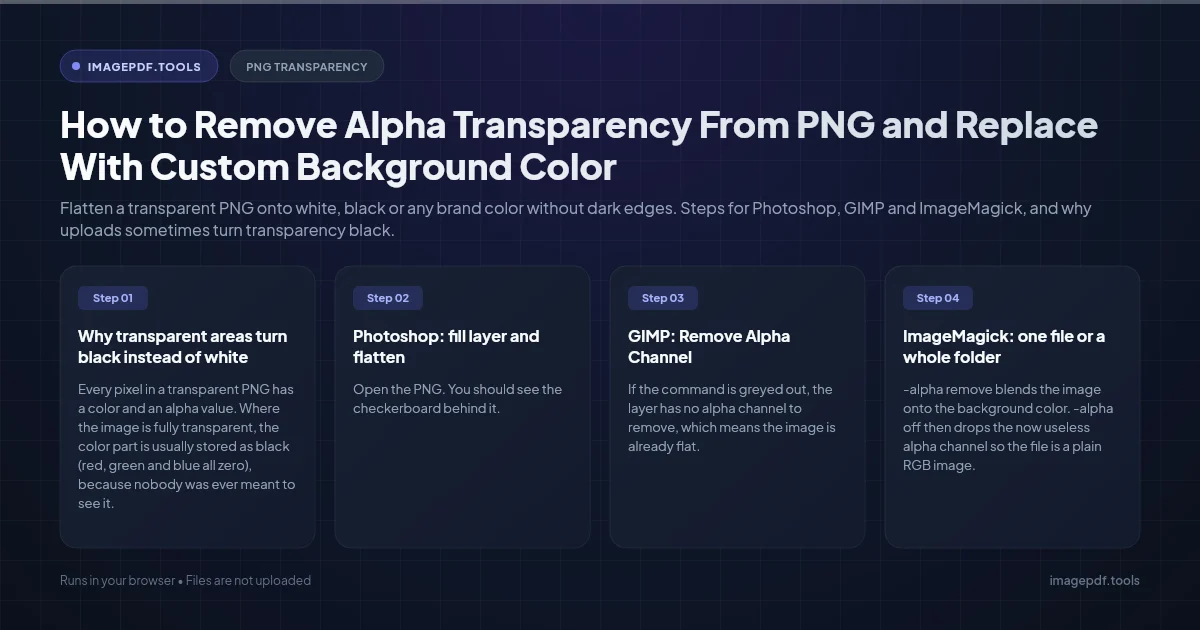
Every pixel in a transparent PNG has a color and an alpha value. Where the image is fully transparent, the color part is usually stored as black (red, green and blue all zero), because nobody was ever meant to see it. When a website or converter drops the alpha channel without blending, those hidden values become visible. The background is suddenly black.
Doing it properly means compositing. For each pixel, the new color is the image color times its alpha, plus the background color times the remaining amount. A pixel at 40 percent opacity becomes 40 percent logo and 60 percent background. That blend is what keeps soft edges and drop shadows looking natural on the new color.
Photoshop: fill layer and flatten
- 1.Open the PNG. You should see the checkerboard behind it.
- 2.Choose Layer > New Fill Layer > Solid Color, click OK, and enter your hex value in the color picker, for example
#0F172A. - 3.Drag the fill layer below the image layer in the Layers panel.
- 4.Zoom to 200 percent and inspect the edges. If you see a dark or light outline, select the image layer and try Layer > Matting > Remove Black Matte (or Remove White Matte, or Defringe with 1 pixel).
- 5.Choose Layer > Flatten Image.
- 6.Save with File > Export > Export As, choosing JPG for photos or PNG for logos with sharp edges.
GIMP: Remove Alpha Channel
- 1.Open the PNG.
- 2.Click the background color swatch in the toolbox (the lower of the two squares) and enter your hex color.
- 3.Choose Layer > Transparency > Remove Alpha Channel. GIMP replaces transparency with the background color from the toolbox.
- 4.Use File > Export As to save as PNG or JPG.
If the command is greyed out, the layer has no alpha channel to remove, which means the image is already flat.
ImageMagick: one file or a whole folder
ImageMagick is free for Windows, macOS and Linux. To flatten one image onto a custom color and keep it as PNG:
magick logo.png -background "#0F172A" -alpha remove -alpha off logo-navy.pngTo flatten every PNG in a folder onto white and write JPEGs next to the originals (the originals are kept because the format changes):
magick mogrify -background white -alpha remove -alpha off -format jpg *.png-alpha remove blends the image onto the background color. -alpha off then drops the now useless alpha channel so the file is a plain RGB image.
Getting rid of dark halos around cutouts
A thin grey or black outline after flattening is not a flaw in the flattening itself. The edge pixels already contained dark color. That happens when an object was cut out from a dark background, or exported by software that mixed black into the semi-transparent edge pixels. Composited over white, that hidden darkness shows up as a ring.
- ●In Photoshop, Remove Black Matte reverses black that was mixed into the edges. Defringe replaces edge colors with colors from just inside the object.
- ●In GIMP, shrinking the selection by a pixel and deleting the edge, then flattening, is a quick manual fix.
- ●Best fix: go back to the original file and export the cutout again, if you have it.
Do you need to flatten at all?
Sometimes not. If the image is going on your own website, keep the transparent PNG or WebP and set a background-color on its container in CSS. You can change the color later without editing the file. Flatten when the destination cannot handle transparency or demands a specific background: marketplaces such as Amazon require a pure white background (RGB 255, 255, 255) for main product images, and many form uploads, ID photo portals and older email clients handle transparency badly.
Flattening a photo-like image and saving it as JPEG usually shrinks the file a lot, because JPEG suits photographic detail and no longer has to store an alpha channel. For a flat logo with a few colors, PNG often stays smaller and sharper than JPEG, so keep it as PNG.
Quick browser option for social media images
If the image is headed for a social profile or post, our Resize Image tool can do the resize and the background in one step. On the Social Media tab, pick a platform and preset size, keep Fit (add fill), and under Background Fill choose Pick a color. The color is painted first and your image drawn on top, so transparent areas take that color too. It runs in your browser and the file is not uploaded. It works at the preset sizes only, so for any other size use one of the methods above.
Keep the original transparent PNG. Once flattened, the transparency cannot be recovered cleanly, and you will want the original the next time a different background color is needed.
Frequently asked questions
Why did my transparent PNG turn black after I uploaded it?
Can I flatten onto a gradient or a photo instead of a flat color?
What hex value is pure white for Amazon?
Will flattening reduce image quality?
Sources & references
This article was researched and written by Nikola, drawing on the following primary sources and documentation:
Ready to try it?
All tools run entirely in your browser, no uploads, no account required.
Resize Image