How to Fix PDF Export Errors in Figma: Missing Fonts, Clipped Shadows & Giant Files
Summary
Why a Figma PDF export loses fonts, cuts off drop shadows or comes out huge, and how to fix each problem in Figma before you send the file.
A broken Figma PDF is usually three separate problems that happen to show up together. Wrong fonts mean Figma could not load a font when it drew the text, so fix the missing font warning before you export. Cut-off shadows mean the effect reaches past the edge of the frame, and the frame edge is the edge of the PDF page. A huge file means full-size photos and effects such as shadows and blurs, which you can trim in Figma and then compress.
Below, each problem gets its own cause and fix, followed by a short check to run on the PDF before it goes to a client or a printer.
Fonts: the PDF can only contain what Figma could load
Figma's help center says PDF exports include text as glyphs. You can still select and copy the words in a PDF viewer, but you cannot edit them, and the shapes of those letters come from the font Figma had loaded at export time. If your machine does not have a font the file uses, Figma shows a missing font icon in the left sidebar, and any layer set in that font cannot be trusted in the export. Fix the icon first, then export.
- 1.Click the missing font icon in the left sidebar to open the Missing fonts list. It names every family and style that is unavailable, and which layers use them.
- 2.If you own the font, install it on your computer. In the desktop app that is enough. In a browser, Figma also needs its font installer (FigmaAgent) from figma.com/downloads; install it and reload the file.
- 3.If you cannot get the font, choose a family and style under Replacement and click Replace fonts. This changes the file for every collaborator, so save a version in the version history first.
- 4.Check line breaks after any replacement. A different font has different widths, so a heading that fit on one line may now wrap.
When the font is installed and Figma still calls it missing
- ●Only one weight is missing. The file may use SemiBold or Condensed while you have only Regular and Bold installed. The Missing fonts list shows the exact style.
- ●Two versions of the same family are installed. On a Mac, open Font Book, look for duplicates and resolve them, then quit Figma completely and start it again.
- ●A font manager activated the font after Figma started. Figma reads local fonts through its background helper, which may not notice the change. Restart the app, or quit FigmaAgent and let it relaunch.
Last resort: turn the text into shapes
Figma's PDF export has no Outline text option; that setting exists only for SVG. You can still convert a text layer to vector shapes yourself: right-click it and choose Flatten (Ctrl + E on Windows, Cmd + E on a Mac). Do this on a duplicate of the frame, because flattened text can no longer be edited, searched, copied or read aloud by a screen reader. It suits a logo or a display heading in a print file. It is a poor choice for a CV, where applicant tracking systems need to read the words.
Clipped shadows: the PDF page ends where the frame ends
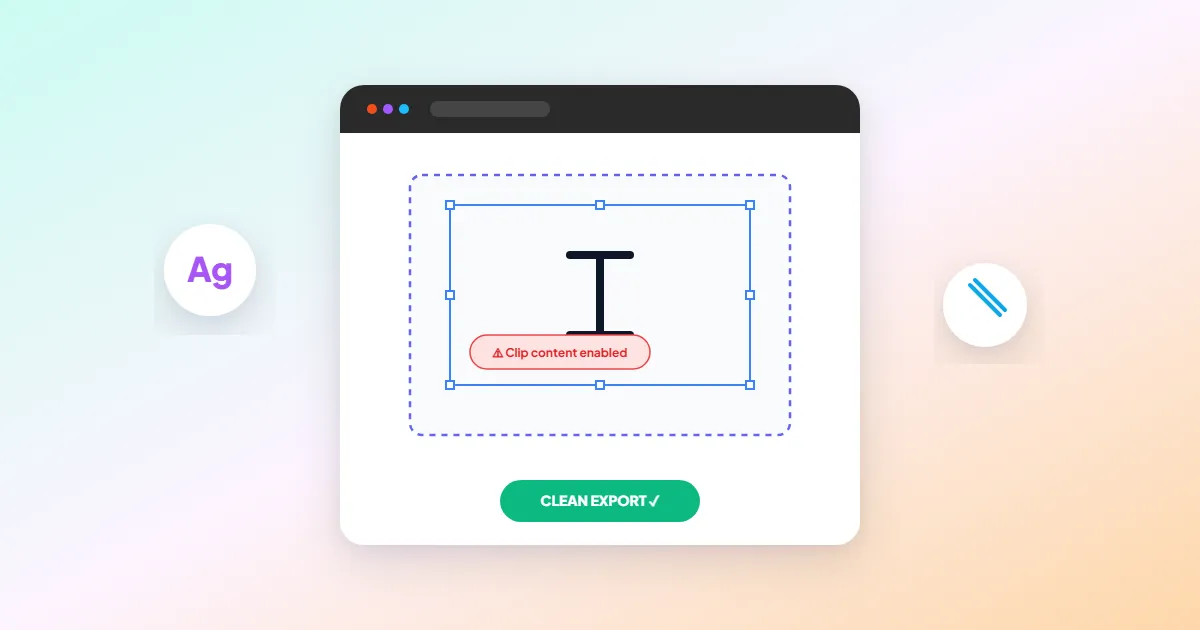
When you export a frame, its bounds become the page. A card with a soft drop shadow placed near the edge of a slide loses the part of the shadow that falls outside the slide. With Clip content switched on, you can already see the cut on the canvas. With it switched off, the export can grow to include the overflow, which for a PDF means a page that is slightly larger than your slide size. Neither is what you want for a deck.
- 1.For slides and pages, leave Clip content on and move the content inward. A shadow needs room equal to its offset plus its blur plus its spread. A shadow with Y 8, blur 24 and spread 0 needs about 32 px of clear space below the card.
- 2.For a single asset such as a card or a device mockup, select it and choose Frame selection (Ctrl + Alt + G or Cmd + Option + G). Resize the new frame so the shadow fits inside it, then export that frame.
- 3.If a shadow is cut inside the slide rather than at its edge, a nested frame is clipping it. Walk up the Layers panel from the card and check Clip content on each parent frame.
- 4.Remove any shadow applied to the slide frame itself. It changes the export size of every page.
Frame clipping does not always behave the same outside Figma. Users report clipped content reappearing when the PDF is printed and disappearing when it is opened in Illustrator. If the file is headed to a print shop or another design app, crop images to their final size or use a mask, and test the PDF in the software that will receive it.
Other things that look different in the PDF
- ●Plus darker and Plus lighter blend modes are not supported in PDF exports, according to Figma's documentation. Layers using them will not match the canvas. Swap them for Multiply or Screen, or rasterize that group.
- ●Very tall frames. Acrobat cannot open pages larger than 200 inches on a side and reports that the page dimensions are out of range. Split a long landing page into several frames before exporting it as a PDF.
- ●Hairline seams between shapes that touch exactly. PDF viewers smooth the edge of each shape separately, so a faint line can appear where two shapes meet. Overlap them by a pixel or combine them with Union.
- ●Hidden or 0% opacity layers are skipped, which is correct, but it surprises people who used them as placeholders.
Why the file is 80 MB, and how to shrink it
Text and vector shapes add almost nothing to a PDF. The weight comes from two places. Photos are often stored at their full original size even when they sit in a small card, and effects such as drop shadows, layer blur and background blur are written into the PDF as images. A ten-slide deck with a glassy blurred panel on every slide can be several times the size of the same deck without it.
- 1.In the Export section of the right sidebar, open the export settings for the PDF and lower the image quality. Figma offers quality and image resampling options for PDF, with quality set to Medium by default.
- 2.Crop and resize oversized photos to roughly twice the size they appear on the slide before placing them.
- 3.Remove background blur from slides where nobody will notice it, or replace it with a flat semi-transparent fill.
- 4.Export the whole deck with File > Export frames to PDF, which turns every top-level frame on the current page into one page of a single PDF.
- 5.If the result is still too big to email, run it through Compress PDF. It re-encodes only the images inside the file and scales each one to the size it is drawn on the page, so your text and vector shapes stay sharp. It runs in your browser, so an unreleased client deck is never uploaded.
If your problem is the opposite, photos that look soft or blocky in the export, see why images look pixelated in a Figma PDF export.
Check the PDF before you send it
- 1.Open it in Acrobat Reader and go to File > Properties > Fonts. Every family you designed with should be listed. A font you never used, such as Arial, points to a substitution.
- 2.Press Ctrl + F (Cmd + F) and search for a word from a heading. If it is found, the text came through as text.
- 3.Zoom to 400% on a card near the edge of a slide and look for a hard line where the shadow should fade out.
- 4.Check the file size against where it is going: many email systems refuse attachments over 20 to 25 MB.
Frequently asked questions
How do I export several Figma frames as one multi-page PDF?
Why can I not edit the text of my Figma PDF in Acrobat?
Can Figma export a CMYK PDF for printing?
Why does my exported PDF show thin white lines between shapes?
Sources & references
This article was researched and written by Nikola, drawing on the following primary sources and documentation:
Ready to try it?
All tools run entirely in your browser, no uploads, no account required.
Compress PDF