Why Is My HDR Photo Washed Out and Grey When Converted to SDR JPEG? (Tone Mapping Guide)
Summary
Why HDR photos, screenshots and video frames turn flat and grey as SDR JPEGs, how to tell which problem you have, and how to tone map them properly in Lightroom or ffmpeg.
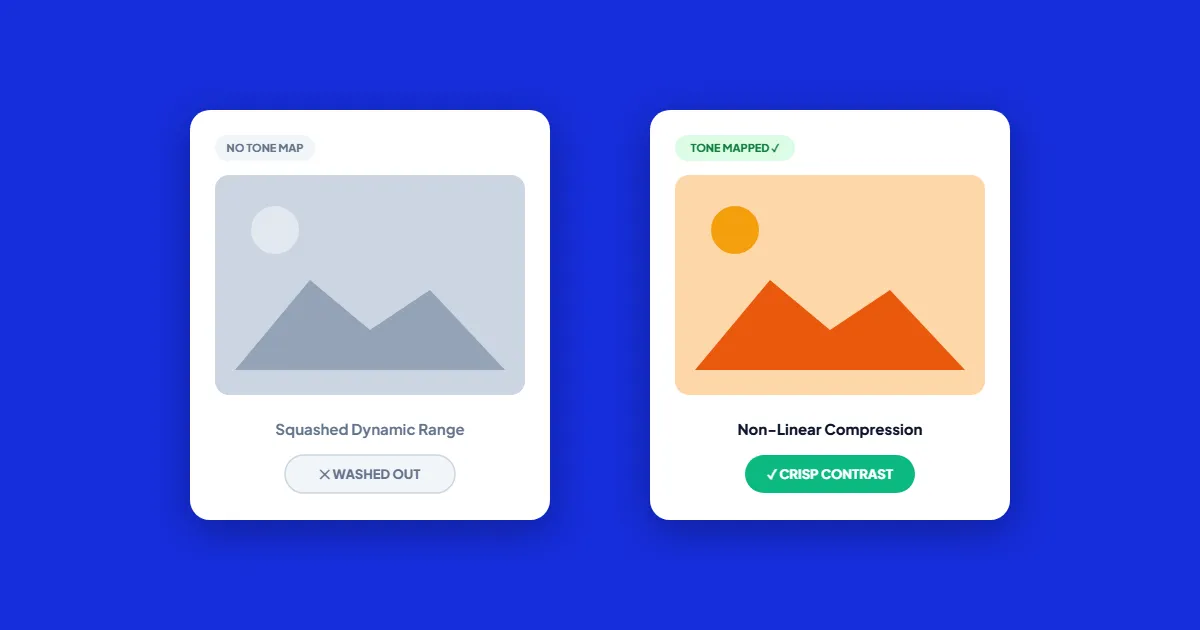
A flat, grey, low-contrast result almost always means the converter read HDR brightness values as if they were ordinary SDR values, without tone mapping them. That happens with files whose pixels are encoded with an HDR curve, PQ or HLG: HDR AVIF and HEIF exports, HDR screenshots and frames grabbed from HDR video. The fix is to convert with software that tone maps, or to export an SDR version from the original.
Three other problems look similar but have different causes: a phone photo that is simply less bright once its HDR boost is dropped, colors that turn dull because the color profile was stripped, and a Windows PC in HDR mode that makes every SDR image look pale. Work out which one you have first, because the fixes do not overlap.
Which problem do you have?
| What the JPEG looks like | Likely cause | Fix |
|---|---|---|
| Grey all over, weak blacks, dull highlights, faded colors | PQ or HLG pixels treated as SDR | Tone map during conversion (Lightroom, ffmpeg) |
| Looks normal, just less dazzling than on the phone | The HDR gain map was dropped and only the SDR base image kept | Expected; adjust the SDR rendition if you want more punch |
| Contrast is fine but reds and greens look muted | Display P3 color profile removed, so the colors are read as sRGB | Keep the profile, or convert to sRGB before stripping metadata |
| Every image on your PC looks pale, not only this one | Windows HDR mode on an HDR monitor | Adjust the SDR content brightness in Windows display settings |
Why HDR pixels turn grey without tone mapping
An ordinary JPEG stores brightness relative to the screen: 255 means as bright as this display goes. HDR files often use the PQ curve instead, where each value stands for an absolute brightness, up to 10,000 nits. Normal white paper in an HDR image is supposed to sit around 203 nits, which the ITU's guidance for HDR production places at roughly 58% of the PQ signal. Show those numbers as if they were sRGB, and white paper becomes a mid grey, blacks lift, and the highlights that should be brilliant land only a little above the grey. HLG files have the same problem in a milder form, with reference white at about 75% of the signal.
HDR files also tend to use the wide Rec. 2020 color space. Reading those values as sRGB pulls every color toward grey, which is why the result looks faded as well as flat. Tone mapping solves both: it squeezes the bright range into what an SDR screen can show, gently rolling off the highlights, and converts the colors to sRGB.
iPhone and Android Ultra HDR photos are different
Most phone HDR photos are built to survive conversion. Android's Ultra HDR format, introduced in Android 14, is a normal JPEG with an extra gain map stored alongside it. Recent iPhones do the same inside HEIC files, and ISO 21496-1 now standardizes the gain map data. The main picture is already a finished SDR image. An HDR screen reads the gain map to brighten the highlights; everything else shows the SDR picture.
So when a converter ignores the gain map, you get the SDR version, which looks correct but less brilliant than what you saw on the phone. That is not a fault. If you want the SDR version to have more contrast, change it in an editor that understands gain maps, as described below. To preview the SDR version on an iPhone, switch off View Full HDR in Settings > Photos.
Fix 1: export a tone-mapped SDR JPEG from Lightroom
Recent versions of Lightroom and Lightroom Classic can edit in HDR and control how the SDR version will look. The labels below are from current versions and may move slightly between releases.
- 1.Open the photo and turn on the HDR button in the Edit (Develop) panel.
- 2.Turn on Preview for SDR display. The image now shows the SDR rendition, with its own sliders for brightness, contrast and saturation.
- 3.Adjust those sliders until the SDR preview looks right. They change only the SDR result, not the HDR edit.
- 4.In the export dialog, choose JPEG with the sRGB color space and leave HDR Output unchecked. The export is a plain SDR JPEG built from your SDR rendition.
Fix 2: tone map a still from HDR video with ffmpeg
Screenshots of HDR video, from an iPhone clip or a streaming rip, are the most common source of grey stills. A screenshot tool copies PQ or HLG pixels without tone mapping. Use ffmpeg instead, which can grab the frame and tone map it in one command. This takes the frame at 12 seconds:
ffmpeg -ss 12 -i clip.mov -vf "zscale=t=linear:npl=100,format=gbrpf32le,zscale=p=bt709,tonemap=hable:desat=0,zscale=t=bt709:m=bt709:r=tv,format=yuv420p" -frames:v 1 still.pngThe filter chain converts the HDR signal to linear light, switches to the sRGB and Rec. 709 primaries, applies the Hable tone curve, and converts back to a normal SDR signal. If the result is too dark, raise npl step by step, for example to 150 or 200. Your ffmpeg build needs the zscale filter, which most full builds include.
Keep the color profile when you shrink the file
iPhone photos and many camera exports are in Display P3, a wider color space than sRGB, and they rely on an embedded ICC profile to say so. Some metadata strippers and older converters remove that profile together with EXIF data. The pixels are then read as sRGB, and saturated colors lose their strength. Convert the photo to sRGB first, in Photoshop with Edit > Convert to Profile or with sRGB chosen in your export settings, and the profile no longer matters.
Once you have a good SDR JPEG, Compress JPEG can shrink it for sharing without uploading it. The browser draws the photo into sRGB before it is re-encoded, so a P3 file comes out as sRGB with its colors converted, not just relabeled. It does not carry over HDR gain maps, which makes it a tool for the final SDR copy, not for your HDR originals.
If every image looks washed out on one PC, check the screen before the files. With HDR switched on in Windows, SDR content is mapped into the HDR range and can look pale. Lower or raise the SDR content brightness slider in the HDR display settings, and compare the JPEG on a phone or another monitor.
Frequently asked questions
Should I turn off HDR on my phone camera to avoid this?
Why does my HDR photo look fine in Chrome but grey in another app?
Is AVIF or JPEG better for sharing HDR photos?
Can I fix an already washed-out JPEG?
Sources & references
This article was researched and written by Nikola, drawing on the following primary sources and documentation:
Ready to try it?
All tools run entirely in your browser, no uploads, no account required.
Compress JPEG